
So, I finally decided to write a tutorial, Let's see how this goes!!!
Remember these Vintage pillowcase aprons I made awhile back...well here is how to make one like the turquoise gingham one.
Vintage Pillowcase Apron
Supplies:
1 Standard size Vintage Pillowcase
1/2 yard coordinating fabric (sometimes I use another coordinating pillowcase)
2 buttons
Thread


 |
| Fold pillowcase in half lengthwise, cut 17 1/2 inches from opening of pillowcase - this is the bottom piece of the apron. |
 | ||
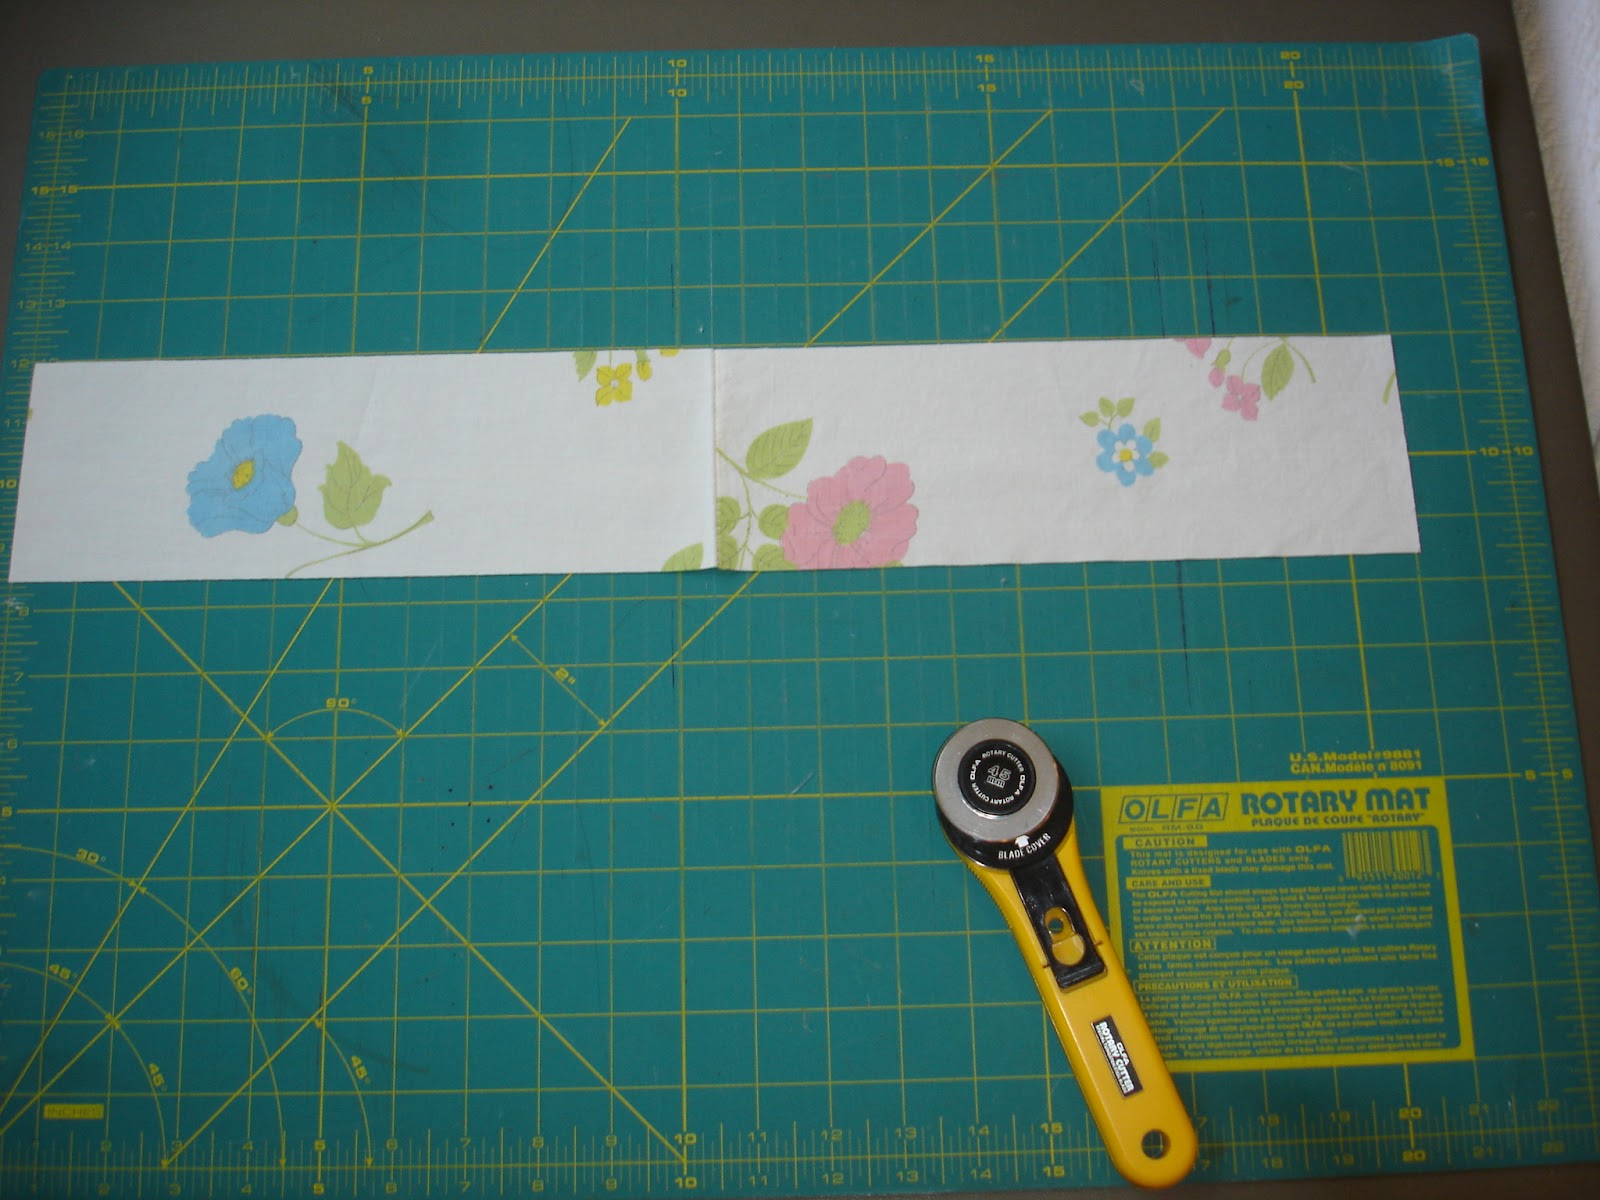
| With remaining top part of pillowcase cut apron top. It will already be 12 1/2 " long so you will only cut the width to be 12". |
 |
| With remaining pillow case scrap cut neck strap 3 1/2 x 21". |
 |
| Apron tie: 3"x21" Cut 3 (oops, I only showed 2 cuts, sorry, but this is my 1st time, so I'm allowed a few mistakes..right??) |

Now for the construction of the apron....
Apron Bottom: fold under raw edge about 1/2" and press.
Apron Bottom: fold under raw edge about 1/2" and press.
 |
Apron Top: With wrong sides together sew 12 1/2 inch raw edge together, turn right sides out and press.

Apron ties: Cut one strip of the apron tie material to the width + 1/2" of the bottom part of apron. I usually just hold the material up to the width of the apron and then cut because some pillowcases are different sizes so this allows for an accurate cut.
Sew the other 2 apron tie pieces to each edge of the waist tie.
Sew the other 2 apron tie pieces to each edge of the waist tie.
 |
Press raw edges of apron ties under about 1/2" on all sides. Then fold tie in half and press. Don't sew the apron tie yet...you will do this when you attach it to the apron.


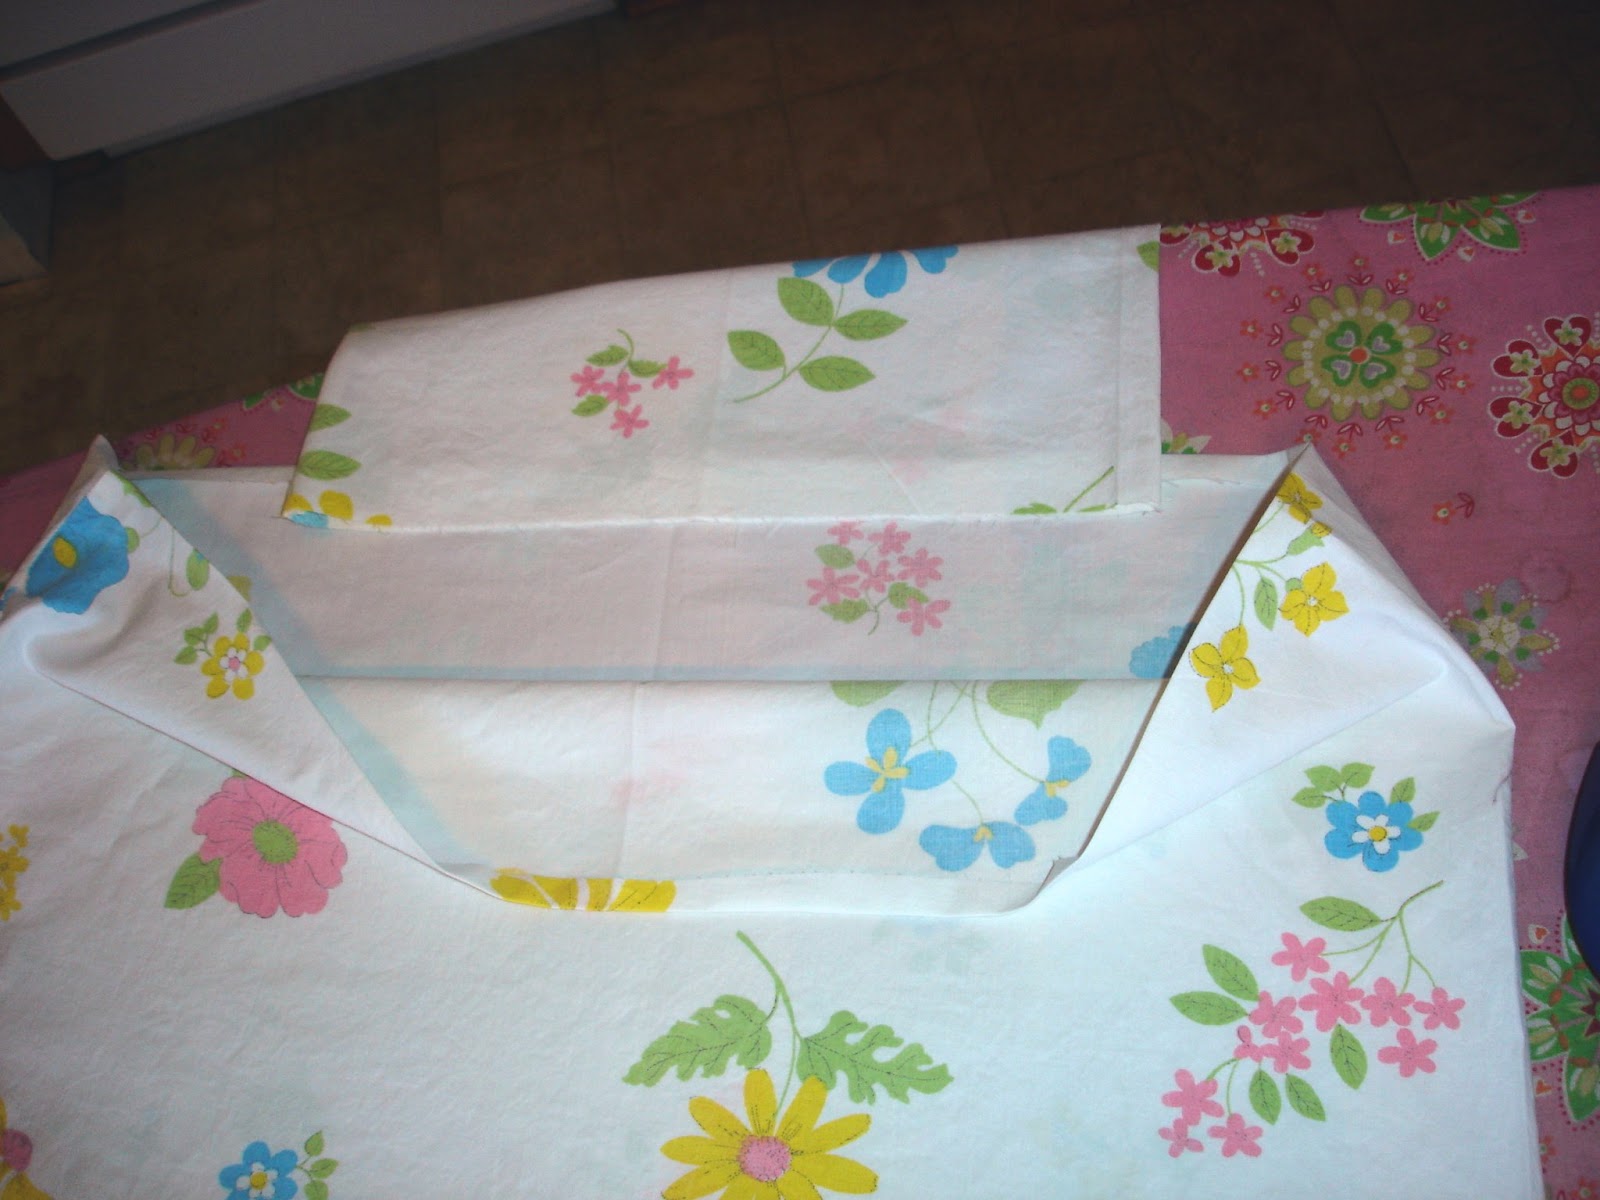
Neck strap: Fold in half lengthwise, press, fold end edges under 1/4" press, then fold each lengthwise edge under to meet half fold, press, then fold in half and press. Confused??? Look at next picture for details.


Hope these detail help!! Sew raw edges of neck strap together.
Eew, don't look at my gross ironing board cover.
Next on my to-do list...Wash ironing board cover.
Eew, don't look at my gross ironing board cover.
Next on my to-do list...Wash ironing board cover.

Find center of apron bottom and top. Open up apron bottom and place apron top inside matching the center points. Pin. So....the apron top should be sandwiched between the apron bottom. Now sew together.
Pin the apron tie to waistline.Now sew the apron tie to the apron and sew all the edges together.

Fold down apron top about 1 1/2 " and sew neck strap evenly to each side.

Choose buttons and sew them on....

Now go be cute in the kitchen and bake some cupcakes!!!


I made two of the pink gingham aprons and this orange/gray flower one for my friends....super cute!!!


 | |||||||
Linked to: Today's Creative Blog


Holly that is so cute! If I could sew I'd make one...but I can't.
ReplyDeletethat turned out adorable! I love it! If you have a chance come link up @ Handmade Tuesdays www.ladybug-blessings.com
ReplyDeleteI love these!!! I love all your aprons, I like that you did a tutorial too.
ReplyDeleteThose turned out great! Such a good idea. Thanks for sharing!
ReplyDelete-Rochelle @ http://homesweethomebodies.blogspot.com/
This is such a great idea! Your aprons are so cute. :)
ReplyDeleteWhat a sweet idea Holly. It turned out adorable!
ReplyDeleteBlessings,
Marcia
Oh my goodness, Holly. That is adorable! I appreciate the tutorial. Thank you so much for linking up to my first air your laundry friday party!
ReplyDeleteHugs,
Jami
Very cute. Love the flowers with the pink gingham. Great tutorial. Thanks for joining the link party.
ReplyDeleteWhat an adorable apron, I love the button details at the top!
ReplyDelete